Western blotting is a critical technique in modern molecular biology and biochemistry. Therefore, selecting the right western blot imaging systems ensures reliable results while streamlining laboratory workflows. Researchers in South Africa can rely on Apex Scientific, a trusted laboratory equipment supplier, to provide high-quality Western Blot Imagers suitable for applications including NIR fluorescence, visible fluorescence, and chemiluminescence detection. Moreover, these systems support both high-throughput and specialized workflows, enhancing reproducibility across experiments.
Step 1: Gel Electrophoresis
The first step in Western blot analysis is separating proteins using polyacrylamide gel electrophoresis (PAGE). In SDS-PAGE, proteins are coated with SDS, allowing them to migrate according to size, with smaller proteins moving faster. Additionally, the gel concentration determines resolution, with higher percentages improving separation of smaller proteins.
Laboratories can use precast gels for convenience or hand cast customized gels for greater flexibility. The Azure Aqua Quad Mini-Cell supports 1–4 gels (10 cm × 8 cm) and includes gel casting stands and frames, making it ideal for diverse workflows. Consequently, proper electrophoresis sets the foundation for accurate protein detection.
Step 2: Membrane Transfer
Once protein separation is complete, proteins are transferred to membranes, usually PVDF or nitrocellulose. A transfer “sandwich” is assembled with gel, membrane, blotting paper, and sponges, secured in a cassette submerged in transfer buffer. Subsequently, applying a current drives proteins onto the membrane efficiently.
Key tools for effective membrane transfer include:
- Aqua Transfer Cell: accommodates two cassettes and features cooling units, with color-coded components for correct setup.
- Azure Power Supply: powers up to four modules and allows users to save custom protocols.
- Pre-cut Blotting Paper and Membranes: PVDF allows reprobing, while nitrocellulose provides high protein-binding affinity.
- Azure Transfer Buffer: formulated to enhance protein transfer and improve sensitivity.
As a result, selecting the appropriate membrane ensures reproducible detection and supports downstream imaging workflows.
Step 3: Blocking Non-Specific Binding
Blocking reduces non-specific protein interactions on membranes. Researchers may choose commercially prepared or homemade blocking buffers containing proteins such as dry milk or serum albumin.
For example:
- Protein-free Blot Blocking Buffer: ideal for fluorescent and chemiluminescent Western Blot Imagers.
- Chemi Blot Blocking Buffer: enhances chemiluminescent signals while reducing background noise.
- Fluorescent Blot Blocking Buffer: stabilizes fluorescent signals for NIR fluorescence detection.
Thus, efficient blocking improves signal clarity and overall imaging quality.
Step 4: Primary Antibody Incubation
After blocking, membranes are incubated with primary antibodies that target the protein of interest. Dilution in blocking buffer and precise incubation times optimize specificity. Meanwhile, excess unbound antibody is removed through multiple washing steps using Blot Washing Buffer or Fluorescent Blot Washing Buffer.
Using incubation trays with lids prevents contamination, and opaque containers protect light-sensitive fluorophores during fluorescent applications. Consequently, careful handling ensures a high signal-to-noise ratio for accurate imaging.
Step 5: Secondary Antibody Incubation
Secondary antibodies bind to the primary antibody and carry detectable labels:
- Fluorescent secondary antibodies: for visible and NIR fluorescence imaging.
- HRP-conjugated antibodies: for chemiluminescent detection.
Azure Biosystems offers AzureSpectra Fluorescent Western Blotting Kits, including membranes, buffers, and labeled secondary antibodies for a streamlined workflow. Additionally, chemiluminescent substrates like Radiance ECL provide picogram-level sensitivity, while Radiance Plus and Radiance Q enable low-femtogram detection for rare proteins. Tools such as the ChemiWriter allow annotations directly on membranes, which produce chemiluminescent signals after substrate addition.
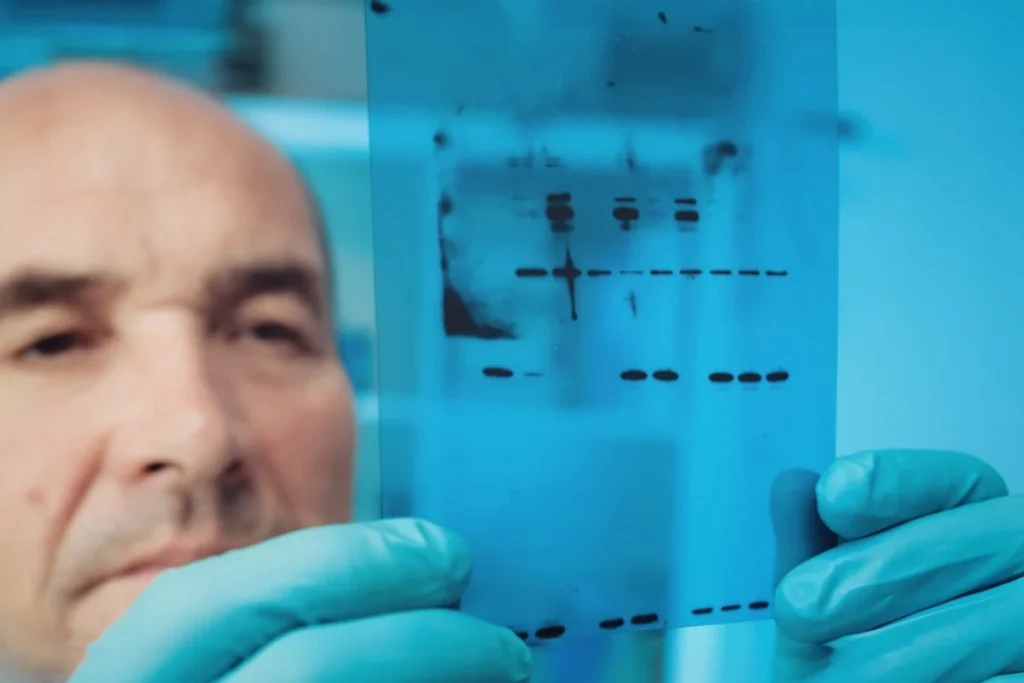
Step 6: Western Blot Imaging and Analysis
High-quality imaging is essential for reliable data interpretation. Western blot imagers from Azure Biosystems capture chemiluminescent, fluorescent, and visible gel signals precisely. Analysis software such as AzureSpot Pro facilitates:
- Background subtraction
- Band detection
- Total protein normalization (TPN) using stains like AzureRed or TotalStain Q
As a result, laboratories can obtain quantitative results with confidence, improving reproducibility and minimizing experimental variability.
Key Considerations When Choosing Western Blot Imagers
When selecting Western Blot Imaging Systems, consider the following factors:
- Detection modality: choose NIR, visible fluorescence, or chemiluminescence based on experimental needs.
- Sample throughput: evaluate the number of gels or membranes that can be imaged simultaneously.
- Sensitivity requirements: low-abundance proteins require high-sensitivity imaging systems.
- Membrane compatibility: ensure PVDF or nitrocellulose is supported.
- Analysis software features: look for band quantification, normalization, and user-friendly interfaces.
Furthermore, Apex Scientific provides expert guidance and access to Azure Biosystems’ advanced imaging systems to ensure laboratories in South Africa select the right tools. Browse Western Blot Imagers.
Applications of Western Blot Imaging Systems
Western Blot Imagers support a wide range of laboratory applications, including:
- Protein detection and quantification
- Membrane arrays for biomarker analysis
- Visible gel imaging to confirm electrophoresis success
- Fluorescent and chemiluminescent detection for research and diagnostics
Consequently, integrating high-sensitivity imaging systems improves data accuracy, reduces experimental variability, and saves valuable laboratory time.


